
Hanging a skateboard deck on a wall sounds simple. It mostly is. But the method you choose makes a visible difference to how the finished result looks: whether the deck sits flush against the wall or floats away from it, whether the hardware is visible or invisible, and whether the whole thing feels like a deliberate design choice or something improvised on a Sunday afternoon.
Here are five ways to display a deck, with honest notes on the advantages and drawbacks of each.
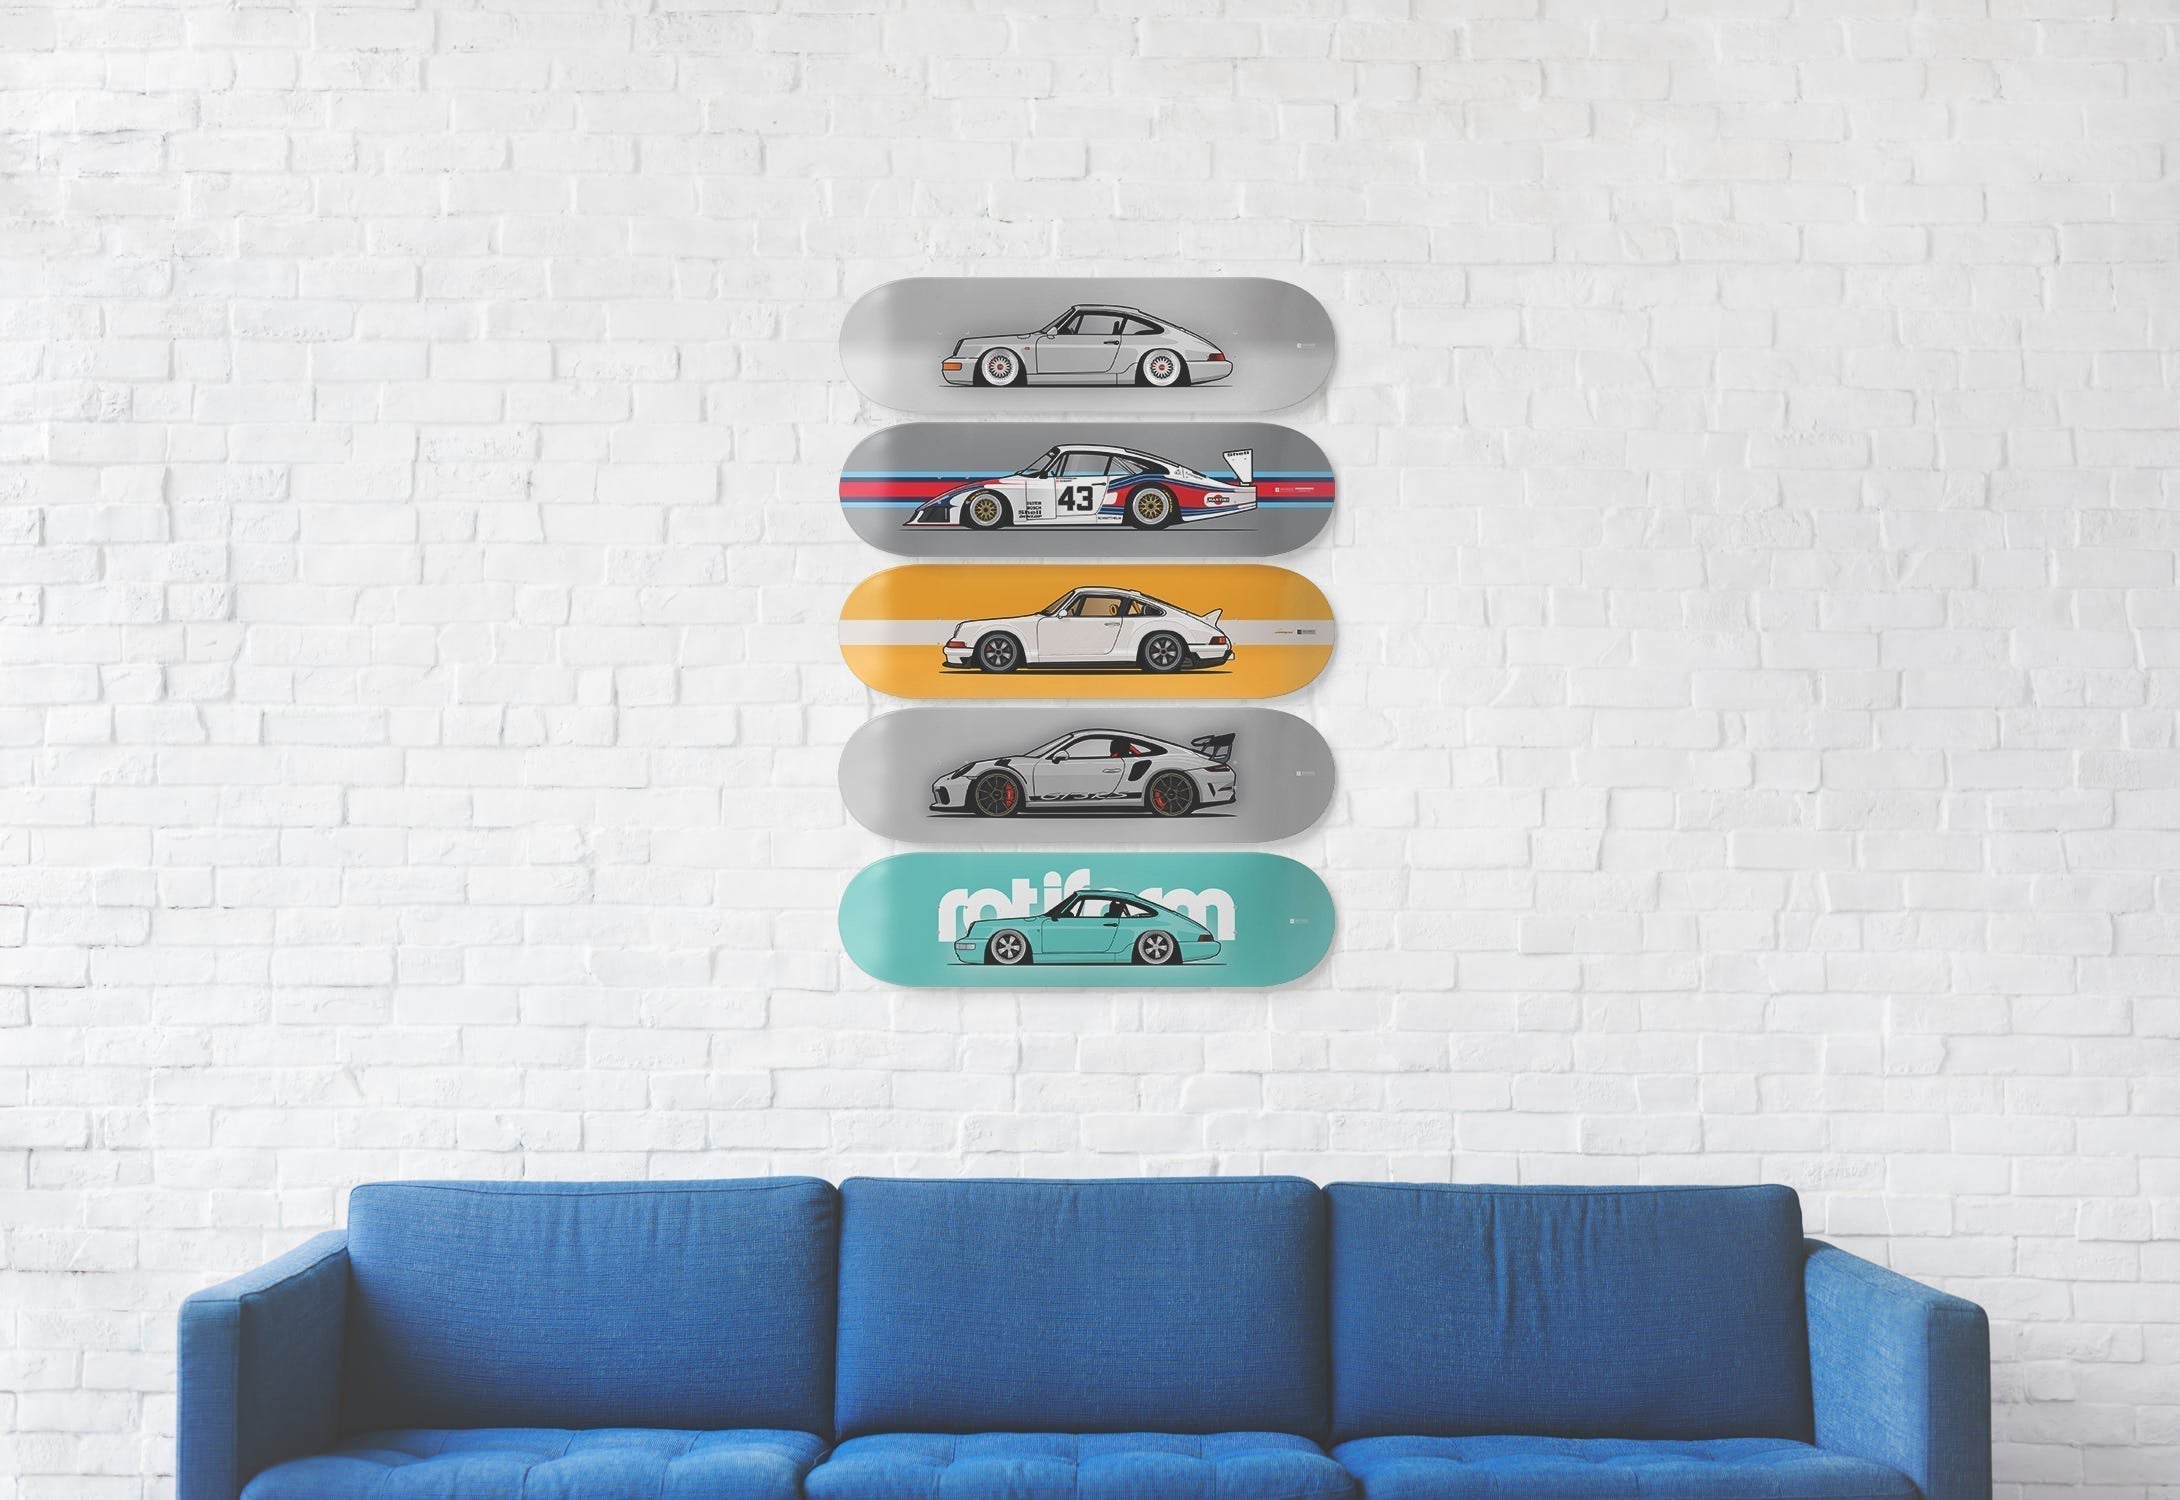
1. Dedicated skateboard wall mounts (recommended)
The cleanest solution and the one worth doing properly. Dedicated wall mounts are designed specifically to hold a skateboard deck at a fixed distance from the wall, creating the floating effect that makes the difference between a deck that looks mounted and one that looks installed.
The Deckorate Deck Wall Fix comes as a set of two brackets with all screws and plugs included. Available in black and transparent. The transparent version is essentially invisible against most wall colours, which keeps the focus entirely on the deck. The black version suits dark walls or garage spaces where the hardware can be part of the aesthetic.

Installation takes about ten minutes. Mark the two fixing points at the right height, drill, plug and screw. The deck slots in from above and sits securely with a small gap between the board and the wall surface.
For multiple decks displayed together, consistent bracket positioning is important. Use a level and measure the spacing between fixing points for each deck before drilling anything.
Shop the Deck Wall Fix (black and transparent) →
2. Deck wall stand with raised edge (no drilling required)
The Deckorate Deck Wall Stand is a wall-mounted shelf with a raised front lip that holds a horizontally oriented deck in place without any fixings through the deck itself. The deck rests on the shelf and the lip prevents it from sliding forward. Available in white and black.

The main advantage is flexibility. Swapping decks out is instant and requires no tools. It only needs two screws in the wall, making it a quick installation. The limitation is that it only works for horizontally oriented decks. A vertically displayed deck won't sit stably on a shelf without additional support.
3. Fishing wire or picture wire
The cheapest option and the most common improvised solution. Thread wire through the pre-drilled truck holes in the deck, loop it around a nail or hook in the wall, and the deck hangs flat against the surface.
It works, but it has two drawbacks worth knowing about. First, the deck sits directly against the wall rather than floating away from it, which loses the three-dimensional effect that makes the format interesting. Second, fishing wire in particular can allow the deck to swing and shift position over time, especially near windows or in rooms with airflow. For a single casual display it's fine. For a curated multi-deck wall it's the wrong choice.
4. Screws through the truck holes
A step up from fishing wire: use the pre-drilled truck mounting holes as anchor points and fix the deck directly to the wall with screws and plugs. The result is more secure than wire and less visible than a bracket, but the deck sits flat against the wall rather than floating away from it.
This method works best for walls where a flush, minimal look is preferred. The screws are visible if you look closely but read as intentional rather than improvised. It is the most permanent of the DIY options. Removing the deck means filling the screw holes.
5. Freestanding display stand (for events, cars and shelves)
Not every deck needs to go on a wall. If you want to showcase a deck in your car, on a cupboard, at a car meet or automotive event, the freestanding display stand is the right tool. It holds the deck upright at an angle without any wall fixing required and can be placed anywhere: on a table, a garage shelf, a fireplace, or the bonnet of a car at a show.

Particularly useful for anyone who takes decks to events (car shows, tuning meets, automotive fairs) where the display needs to be portable and quick to set up. Also works well as a rotating display at home if you like to swap out which deck is on show without committing to a fixed wall position.
Shop the freestanding display stand →
Which method is right for you
For a permanent display that looks properly finished, the Deck Wall Fix brackets are the right choice. The floating effect they create is visually superior to any flat-hung alternative and installation is straightforward.
For a no-drill wall option where you want to swap decks easily, the Deck Wall Stand covers it cleanly, with the trade-off that it only suits horizontal orientations.
For portable display at events or a shelf setup without wall commitment, the freestanding stand is the one.
The fishing wire and DIY screw methods work if cost or availability is a constraint, but neither achieves the same result as a purpose-built mount.
Browse all Deckorate wall fixtures →
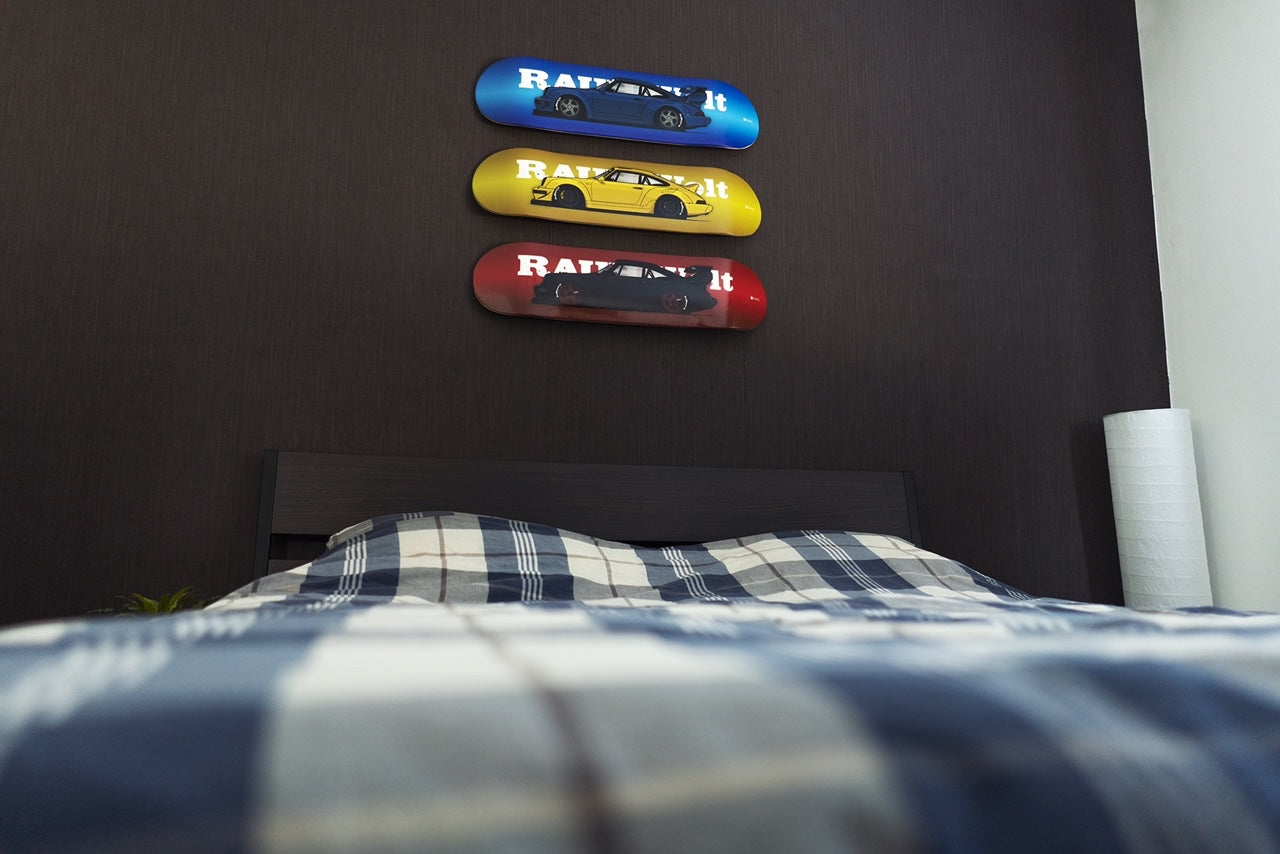
Tips for displaying multiple decks
A few things that make a real difference when hanging more than one deck:
- Use a level. Even a millimetre of difference in height between two adjacent decks is visible and distracting. Take the extra two minutes to check before drilling.
- Keep spacing consistent. 8-10cm between decks is the standard for a clean look. Too close and the decks compete. Too far and the display loses coherence.
- Align the bottom edges, not the centres. When displaying decks of similar proportions, bottom-edge alignment creates a cleaner architectural result than centre alignment.
- Plan the layout on the floor first. Arrange the decks on the floor in the configuration you're planning before committing anything to the wall. It's much easier to adjust spacing and order at ground level than on a ladder.
